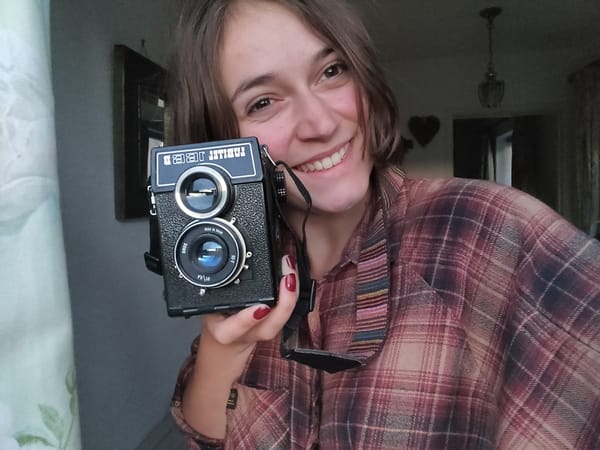
Using the Mamiya 7II

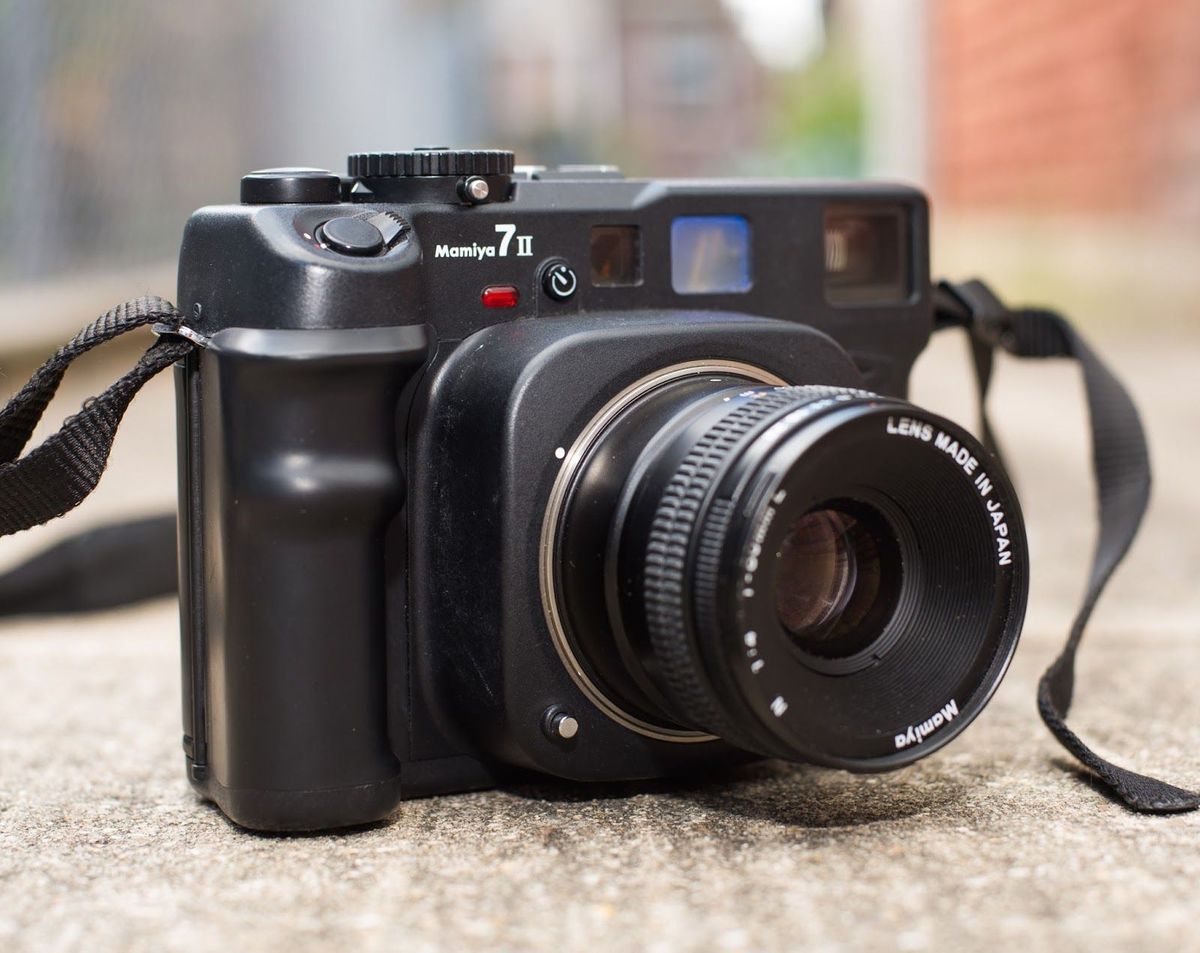
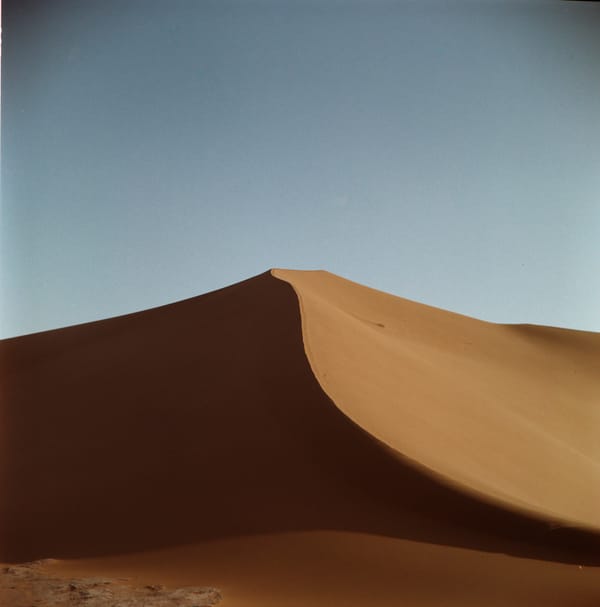
I was lucky enough to get my hands on a Mamiya 7II whilst I was completing my photography degree at UCA Rochester, they had a wonderful “camera tuck shop” as I liked to call it, within which they held two of these lovely cameras. At the time I was working on my “Groatie Buckie Land” project based in Northern Scotland and I wanted it shot on medium format film. However, there was no way that I was going to rent out a 120 camera for the first time and take it 500 miles north without having a few test runs with it first.
The Mamiya 7II is pretty nifty, it focuses via a rangefinder which was a completely new way of photographing for me. Put simply, a rangefinder shows two images of your subject through the viewfinder, as you turn the calibrated focusing wheel on the lens one of these images will appear to move. Once the two identical images have lined up to create one, this is when your subject is in focus, it will also tell you the distance you are from your subject.
The benefit of this type of camera is that they are typically lighter and quieter due to the fact they do not contain a mirror, they’re “mirrorless” to be professional. These two advantages makes rangefinders great for street photography as it offers a more nimble and discreet style of shooting so you can get all the sneaky shots without being so obvious. It also has a leaf shutter which means that there is very minimal shutter shake, perfect for longer exposures.
The disadvantage to rangefinders is that they can slip out of calibration, meaning that although the two images within the viewfinder were matched up, your final image is not sharp or focused on the part of the subject you intended for, this is VERY annoying and unfortunately happened to me with the second Mamiya 7II that I booked out.
Secondly, when using a camera with a viewfinder independent from the lens, you have to be aware of the fact that the subject you can see within the frame of the viewfinder is slightly different from that seen by the lens because they are of course separate so can see different things, even if they are only an inch apart. This is called a parallax error and can lead to people’s heads and feet being cropped out of images. I’ve made that sound pretty detrimental but I personally didn’t find it that obvious, it’s just something to be aware of when using one of these cameras. Actually, in some rangefinders the makers have been kind enough to mark out the true framing with lines inside the viewfinder.
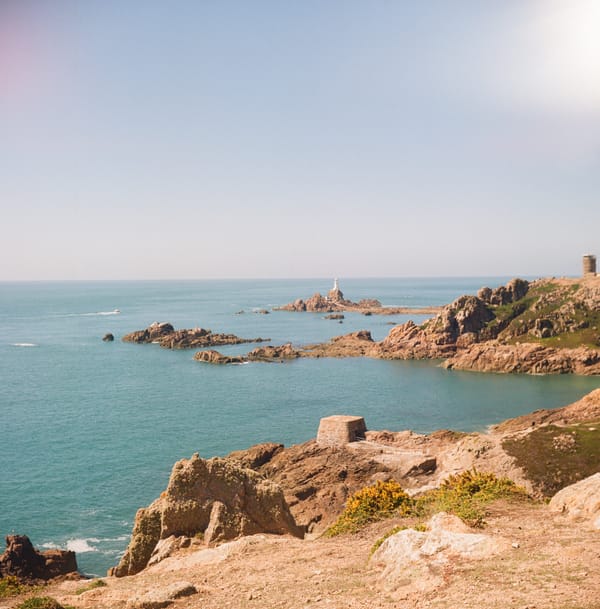
I began with testing the camera out by taking it on daily activities with me, family lunch out, walk around town, photography workshops etc. This camera also has a light meter which is suuuper handy and also a curtain to help prevent against any light leaks, making sure you are getting the most out of your, very expensive, roll of film. I messed up a few frames by shooting on the wrong shutter speed but there were a couple exposures that came out quite nicely. After I developed these myself and chucked them through a flatbed scanner I was over the moon with the crispness of the photos. This is partly due to the fact it is mirrorless but also the Mamiya lenses are continually praised for their clarity.
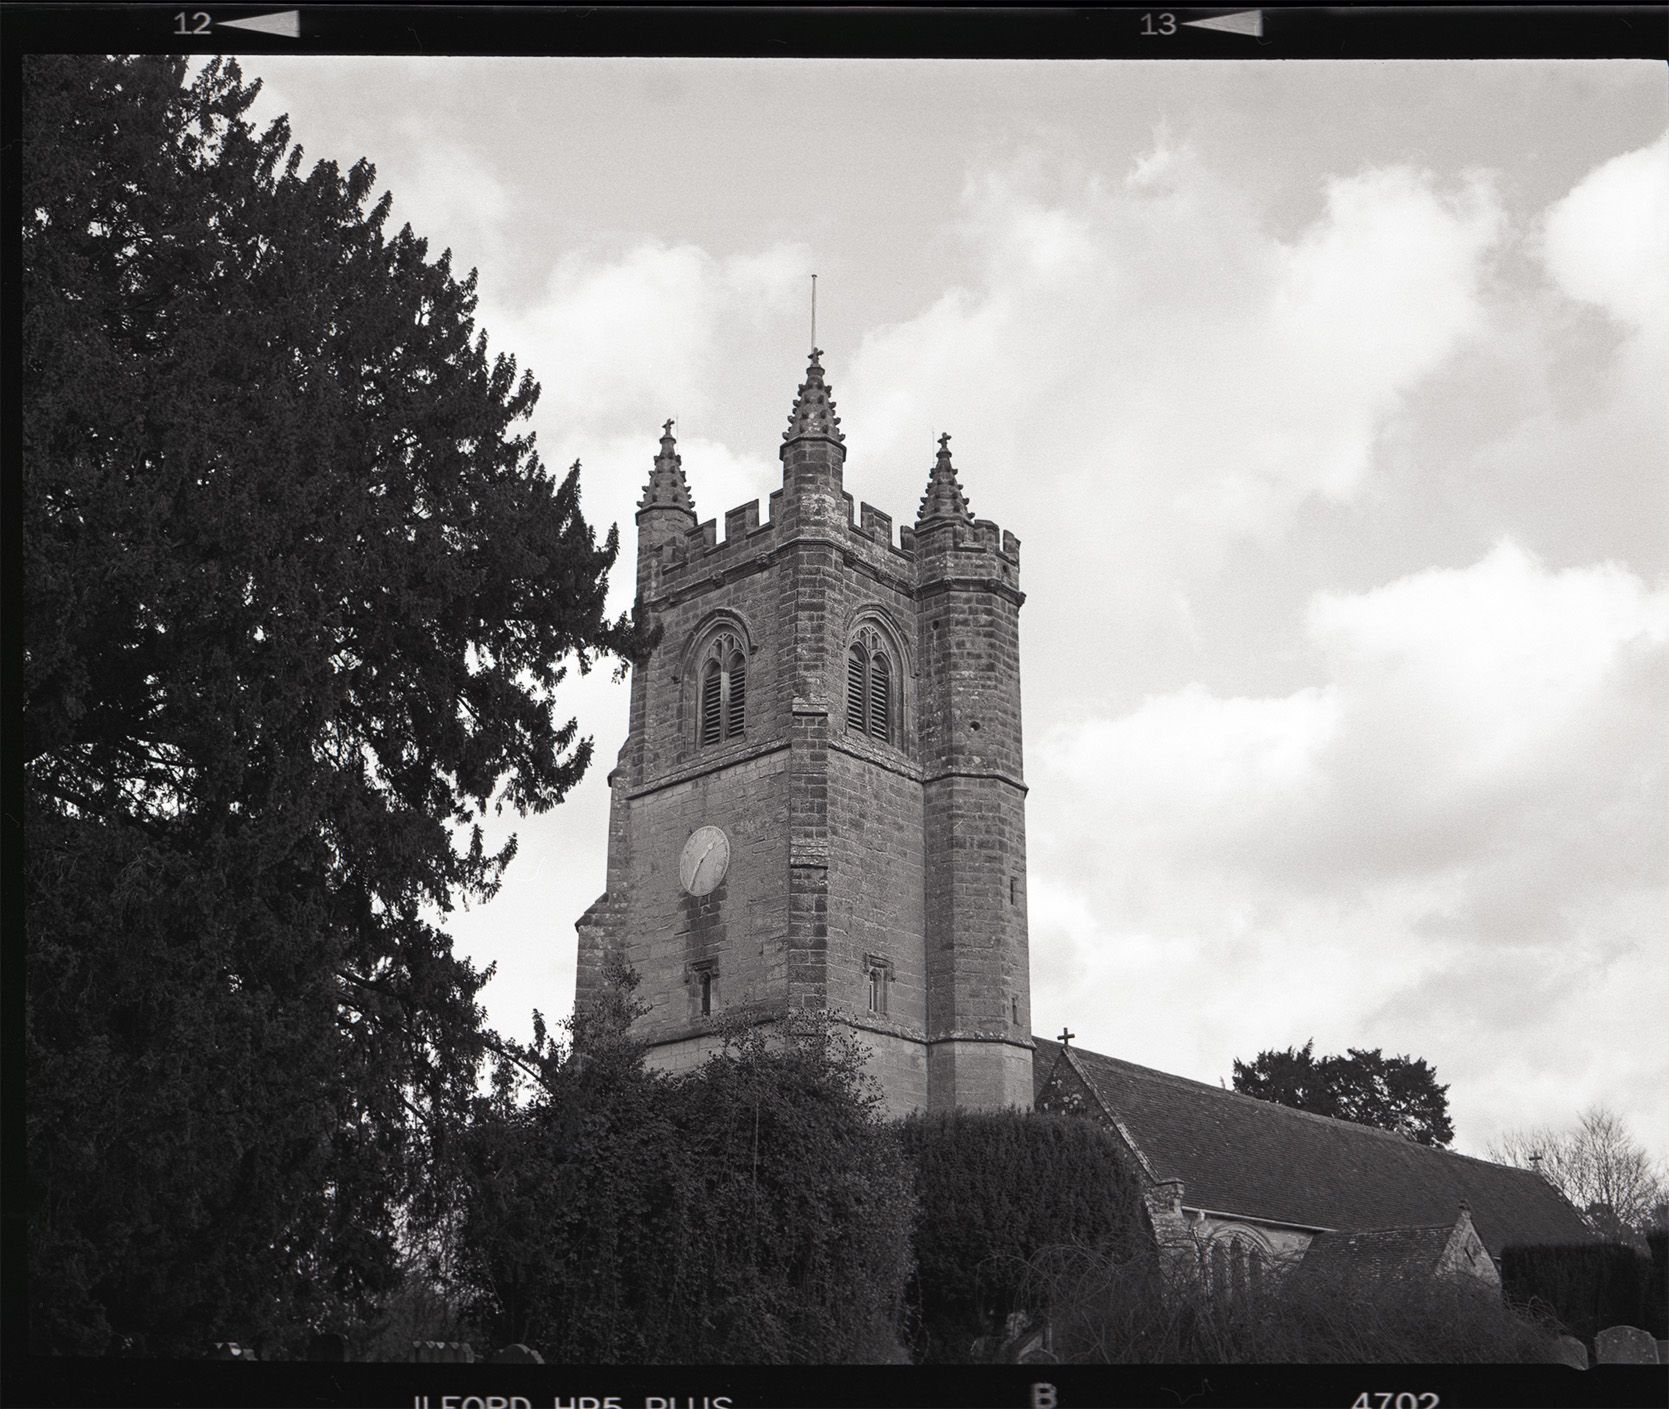
Both these images ended up being worthy of printing in the darkroom and also both ended up being framed and given as gifts; one to my lovely Mum for her Mother’s Day gift and the other to my brother and his wife as they got married in that very church about 6 months after the photo was taken.

I absolutely love this camera, I became almost territorial over it so I highly recommend getting your own hands on one. The Mamiya is easy to use, the mark 2 offers special features such as double exposures that the standard 7 doesn’t offer but I’d be happy without. The square body of the camera feels almost like a caricature of a camera and it is very bulky but, relatively, indestructible…
Which brings me onto a small anecdote. Picture this; a photography class outing to the local town of Rochester, a short walk away from the uni campus which is based at the top of what feels like the steepest hill in the South East. Falling ever so slightly behind, my classmates and tutor wait for me and a couple of the other girls to trundle our way down the concrete slope round the back of the building. The three of us girls pick up speed and are now almost running down the hill, everyone is laughing, what a lovely photo it would have been. Until, SMASH! I feel the weight of the Mamiya around my neck vanish and the sound of broken glass splintering onto concrete. I have dropped and smashed one of the uni’s most expensive film cameras, in front of everyone. I look up to see my tutor burying his head into the brick wall of the building, my classmates are standing there, their mouths agape. I scoop up the camera and turn away from them all to assess the damage in privacy. THANK GOD. The broken glass was just from the lens protector that had been screwed on, the rim of which was now bent and incapable of being removed by hand. The neck strap that I had added to the camera had come unclipped. Moral of the story, always check your neck strap and ALWAYS have a lens protector screwed on, it saved my bacon.
To see work from my Groatie Buckie Land project and various others, head over to my website: Lucianiphotography.co.uk